I really like Kaihua’s Kailh Speed Copper mechanical keyboard switches because of their shallow, tactile and light activation feel. However, I don’t like their noisy upstroke. Here’s how I modded my switches to make them quiet.
First I added silicone O-rings to the keycaps to silence the bottom-out. Although the squishy feel isn’t great, I rarely bottom-out anyway. A look at the force/travel profile (input.club, Kaihua) shows why: only 45gf is required to overcome the tactile bump at 0.25mm, which falls away quickly to activate the switch at 1.1mm. Then there’s a huge linear cushion ramping up to 60gf over the next 2.5mm, so you really have to be banging at the key to not notice the bump and keep going all the way to the bottom.
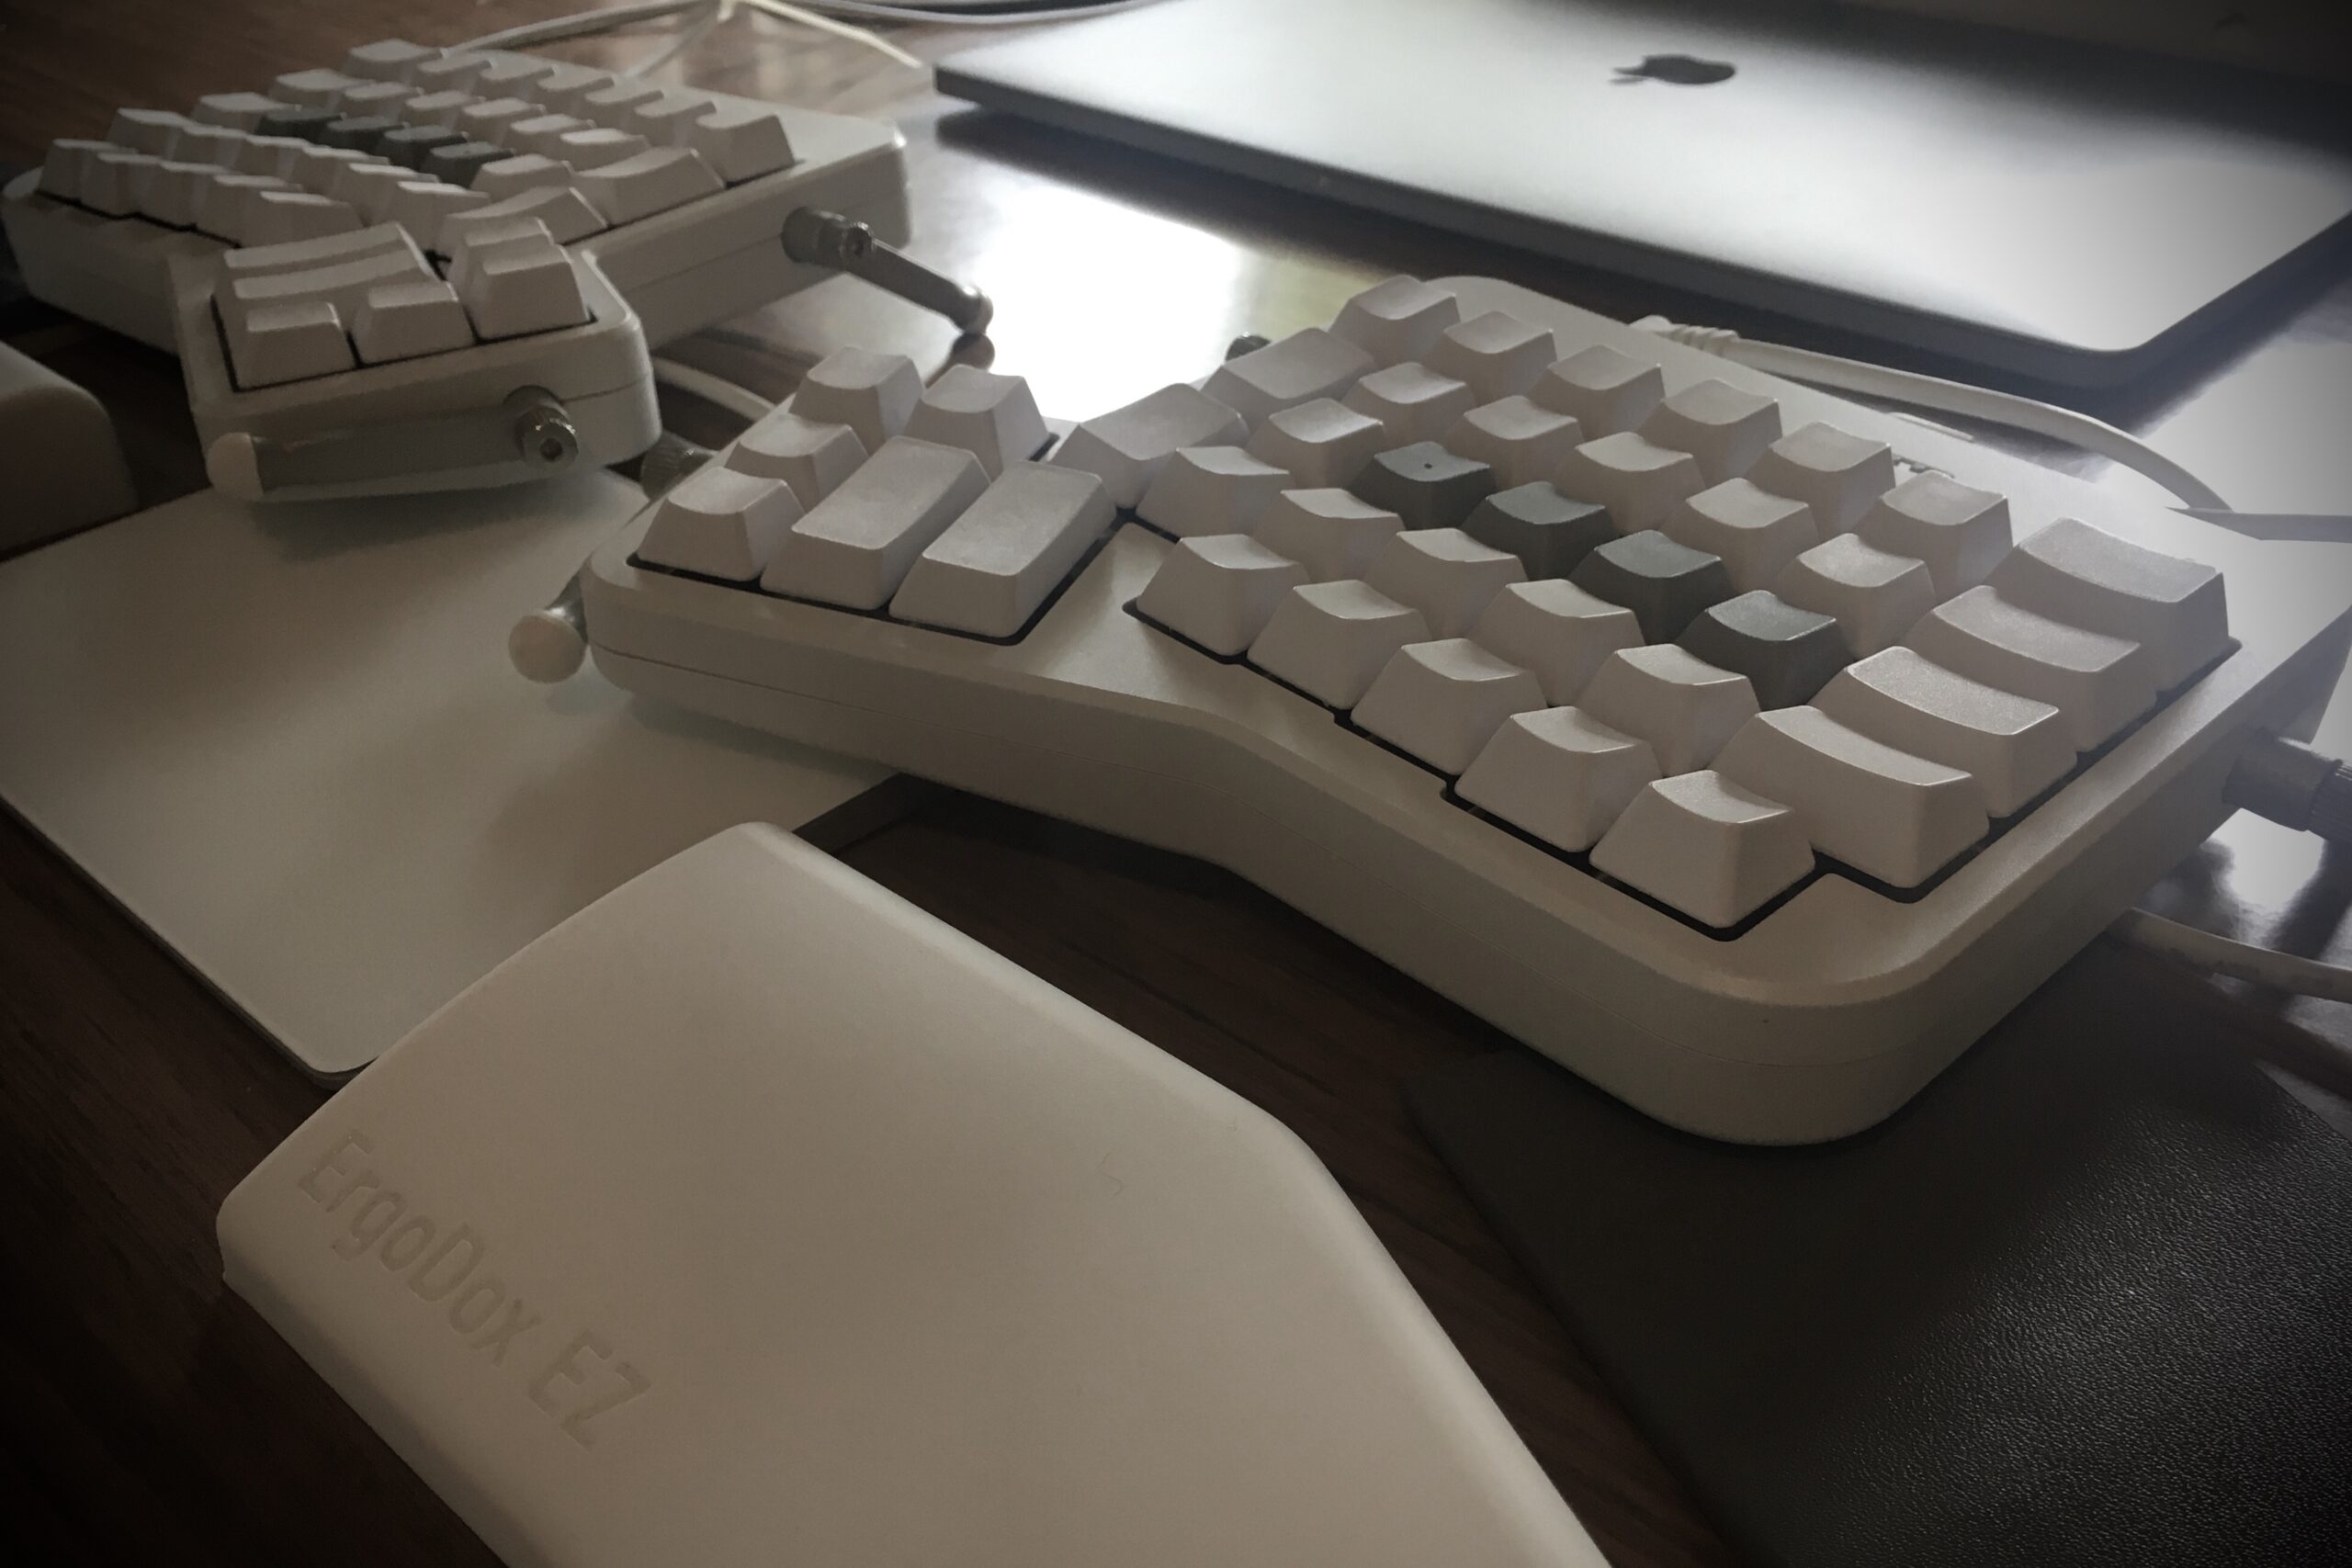
So the upstroke is the main challenge for silencing the Speed Coppers. Plugged into an Ergodox EZ with PBT DCS keycaps, the upstroke noise is 68dB with normal typing, and 89dB when generating maximum clack by sliding my finger off a fully-depressed key. The peak frequency around 950Hz also causes some “ping” due to resonance with the spring.
My solution was basically the latex mod, but with slightly different materials.
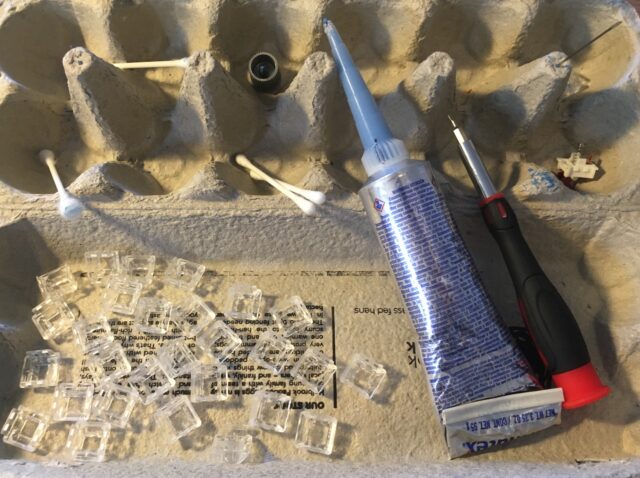
Tools & Materials
- Permatex Ultra Blue Gasket Maker. RVT silicone that dampens the impact between the stem and the top-housing.
- 1.5mm flathead screwdriver. For opening Kailh switches; you could also use a Kailh-compatible switch-opening tool.
- 2.5mm flathead screwdriver. For applying the silicone.
- Tweezers. For picking up stems and springs.
- Sewing pin or darning needle. For piercing and unclogging the silicone nozzle, and removing excess silicone
- Cotton tips, rag. For wiping up silicone from any places it shouldn’t be (your skin, switch housing, etc.)
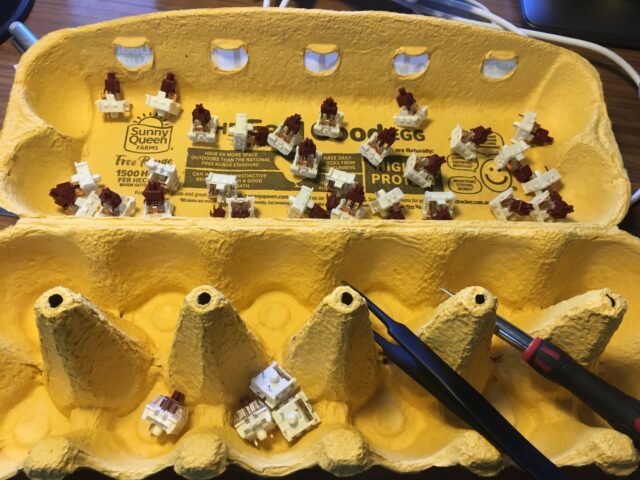
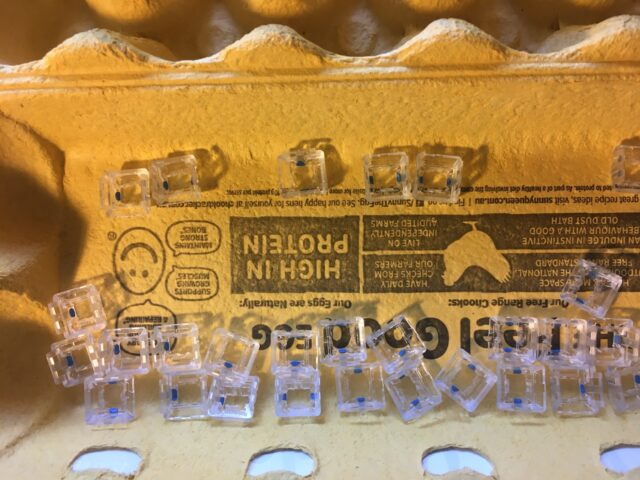
- Egg cartons. For holding parts, tools, and wiping tools clean. You could also use a lubrication station if you have one.
Method
- Separate the top-housing from all switches. I do this with the 1.5mm flathead by slipping it under one corner of the top-housing’s clip, sliding it to the centre, depressing the stem, then pushing the screwdriver up until it can lever the top-housing off. Put the bottom housing + spring + stem assemblies to one side.
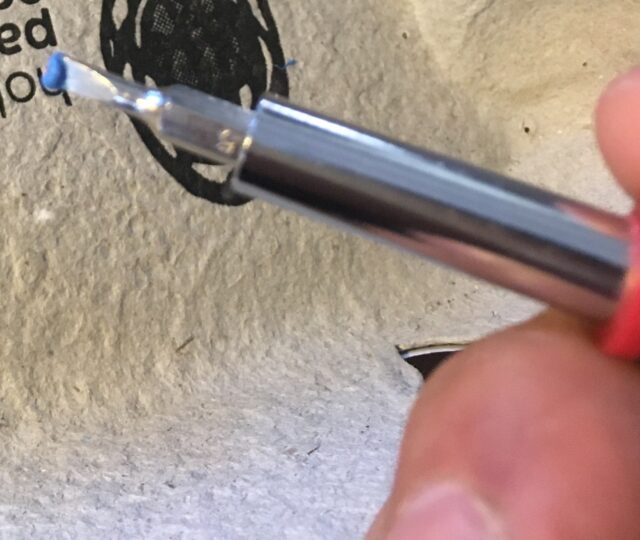
- Get the silicone flowing in a controlled way. Cut the tip of the Ultra Blue’s nozzle just before it hollows out. Use the pin to make a small hole at the end of the nozzle. Pierce the foil seal of the tube using the cap, attach the nozzle, and squeeze the tube until the silicone comes out the end of the nozzle. If the silicone becomes hard to squeeze out later, unblock the nozzle using the pin.
- For each top-housing, squeeze out beads of silicone that can cover the width of the tip of the 2.5mm flathead screwdriver. Apply the silicone to the trapezoidal recess in the top-housing where the rails on the side of the stem make contact with the top of the housing; repeat for each side. I used a wiping motion with the flathead so the silicone was 1mm thick at the back of the trapezoid, with an even slope down to about 0.2mm thick at the inner edge. It will become thinner later!
Use enough silicone to cover the tip of a 2.5mm flathead
Top-housings with silicone applied - Clean up. Remove any excess silicone smudges from the housings using the cotton tips and pin. Wipe any silicone off the tools and work area.
- Around 45–60 minutes after application, the silicone will still be malleable but will no longer be tacky. At this time, lightly press a stem into each top-housing. You should aim to get the stem near where it would sit at the top of a keystroke (with the rectangular block of the stem protruding slightly past the top of the housing), but without pressing so hard that the ledges on the sides of the stem actually contact the top-housing. The ledges on the side of the stem should leave an impression in the silicone.
- Wait an additional hour for the silicone to harden (an opportunity for lubing?), then re-assemble the switches and put them into your keyboard.
Putting keycaps on is okay, but taking them off at this point may damage the uncured silicone. - Wait a full 24 hours after initial application for the silicone to finish curing before typing.


Results
After this process, the switches were substantially quieter (50dB typing peak, 70dB “maximum clack”). “Silent” is an exaggeration, though they seem comparable to commercial “silent” tactile switches and Apple keyboards. Most of the remaining noise sounds like contact between the leaf spring and the stem after the sharp tactile bump. The sound was consistent across most switches, though I demoted some of the louder ones (where the silicone was thinner) to spares. The tactility doesn’t feel different from the unmodified switches (although the stem must be sitting imperceptibly lower), and the stems all seem correctly aligned.
Compare some recordings yourself: factory and modified.
Notes
I chose Permatex “Ultra Blue” even though eol2501 recommended Permatex “Ultra Grey”. On paper, Ultra Blue (not to be confused with the other blue-tubed gasket maker eol2501 tried) is more elastic and softer, curing at 30A compared to Ultra Grey at >45A.
I found it took about 40 minutes to apply the silicone to 35 switches (including opening the switches up). I split my keyboard into two batches; this meant the first batch was ready for the stem impressions once I had applied the silicone on the second batch.
Speed Copper switches reach the peak of their tactile bump after only 0.25mm of travel, so I was quite concerned with applying too much dampener and ruining the tactile bump. I was also worried that variations in the manual application of the silicone would make the switches feel inconsistent or even wonky. Making an impression with the stem before the silicone has fully cured helps to preserve the stem’s high-point. Gauging the volume of silicone and shaping it using the flathead helps reduce variation. These measures seem to have been sufficient for retaining the tactile feel and consistency.
Failed experiments
Prior to trying the Ultra Blue, I was looking for a much thinner silicone coating that wouldn’t alter the travel. I tried applying Electrolube’s flexible silicone conformal coating to the top of the stem rails (the same place where commercial silent switches add upstroke dampeners). Applying it to the top-housing wasn’t an option since it uses a xylene solvent, which is fine on the POM stem but would degrade the polycarbonate upper housing. The FSC compound dries down very thin (< 0.1mm). However, it turned out to be too thin and hard – there was no noise reduction!
Then I tried rubber bands, thinking that the consistent thickness of the rubber band would give a consistent key-feel compared to manually applied liquid latex or silicone. The smallest width for standard sized rubber bands is 1.5mm. I tried stuffing sections of a size 18 band in the top-housings where the stem makes contact, and while they were very effective at silencing the upstroke, they took up way too much space. The 1mm x 1.5mm cross-sections means that after getting squashed, the rubber protrudes into the space where the the stem passes through the top-housing, stopping the stem from reaching the top of the stroke.

It’s also worth pointing out that none of the silencing clips I’m aware of (namely GMK QMX and Zealencio silencing clips) are compatible with Kailh housings, though I don’t expect them to be very effective for upstrokes anyway.