keeb.io Iris keyboard review

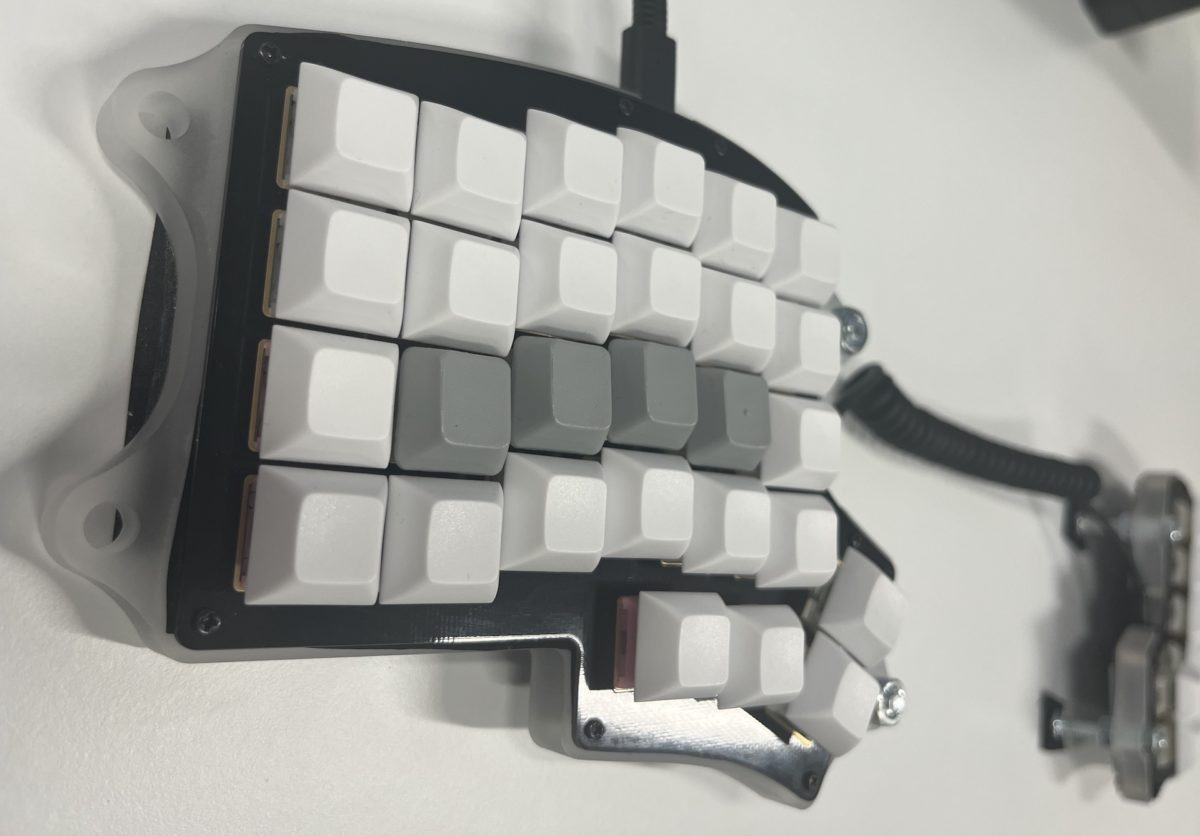
I have been using an Iris rev 6b split keyboard (FR4 plates, acrylic tented middle layer) for a couple of months.

Until I got the Iris, I’d been packing my Ergodox to work each day, which was inconvenient, and the constant plugging/unplugging was probably not great for the mini USB port either. I wanted:

  • portability, so I can take it on a commute or travel
  • fewer keys (maybe more ergonomic if I learn to use them efficiently?)
  • quietness, so as not to disturb co-workers
  • a split ortholinear layout similar to my Ergodox, so I can rely on muscle-memory between both boards
  • tenting
  • some assembly (to participate in a group custom keeb-building activity)
  • not egregiously expensive

Overall, the Iris did meet my goals, though it required some experimenting/modifications to the hardware and firmware to do so. This review discusses these aspects, mostly in comparison to my Ergodox and similar split/ortho keyboards. It doesn’t discuss the advantages of splits, ortholinear, or <60% layouts.

The Iris keyboard kit cost about $165 USD, including shipping to Australia. Switches and keycaps were another $70 or so (you only need 56 1Us), and maybe $5 USD for the carriage bolts, for a total of $240. This is much cheaper than high-end prebuilt tented ergos: a Dygma Defy is $399, a Moonlander is $365, and an Ergodox EZ Glow is $324 USD.

Continue reading “keeb.io Iris keyboard review”

Circuit for temperature-controlled dual-fan Raspberry Pi case

Several Raspberry Pi retailers are selling a CNC’d aluminium heatsink case for the Raspberry Pi, also known as the “Armour” case. While I actually wanted the passively cooled case (i.e. just a big heatsink), somehow I wound up with the dual-fan case instead.

The fans terminate in a combined dual-0.1″ plug, which they recommend connecting across the 5V and ground pins at positions 4 and 6 on the Pi’s GPIO header. This works fine, but the fans are on all the time, which I didn’t want (they’re not perfectly silent, and they’re also drawing power despite the Pi being relatively cool).

circuit with flyback diode added
Aluminium dual-fan case with the fans in the manufacturer’s recommended “always-on” configuration

It would be better to switch the fans on when the Pi gets above a particular temperature – and this post explains how. Thanks to Jim for supplying hardware, knowledge and soldering skills to make a solution possible.

Software

From the software side, this is easily achieved. Some other sites recommend writing a userspace daemon in Python, but we can simply add a device-tree overlay to have the kernel do the monitoring and switching:

# in /boot/config.txt
dtoverlay=gpio-fan

By default, this sets GPIO12 high when the Pi hits 55C, and turns it off once the Pi gets below 45C. Theoretically, this also supports hardware PWM to control the fan speed, although the speed isn’t configurable through the overlay.

Hardware

So, how do we wire things up so that when GPIO12 goes high, we can supply the fans with the power they need? GPIO12 only supplies 3.3V and at most 16mA, so connecting the fans directly will damage the Pi. The hard-to-find gpio-fan overlay source code suggests using a 2N7002 N-MOSFET like so:

circuit with 2n7002 transistor's Gate connected to GPIO12, and fan between 5V and the 2n7002's Drain; the transistor's Source is connected to ground

However, this doesn’t work for the dual-fans. And while it might work for single fans, there are still some additional improvements that can help protect the Pi.

Continue reading “Circuit for temperature-controlled dual-fan Raspberry Pi case”

Silencing the Ergodox EZ

Even after modifying my switches with silicone and dental floss, I still wasn’t satisfied with the noise of my Ergodox EZ. The dampened upstrokes were still causing a reverberation that I determined was coming from the Ergodox EZ case/PCB itself.

The Ergodox EZ CIY case has an integrated plate-mount design (where the “plate” is just part of the ABS upper shell), which is a design that’s notorious for producing reverb. The case is also very hollow, with 1–3mm gaps above the PCB and 2–4mm gaps below it. This all contributed to a mid-range “thonk” around 1kHz on upstrokes.

I successfully dampened the “thonk” sound by adding neoprene foam and rubber. This cost less than $10 (AUD) in materials and took about 90 minutes.

photo of Ergodox EZ top case with neoprene rubber strips
Top-half of the Ergodox EZ with 1.5mm neoprene rubber strips inserted in between columns.

Continue reading “Silencing the Ergodox EZ”